

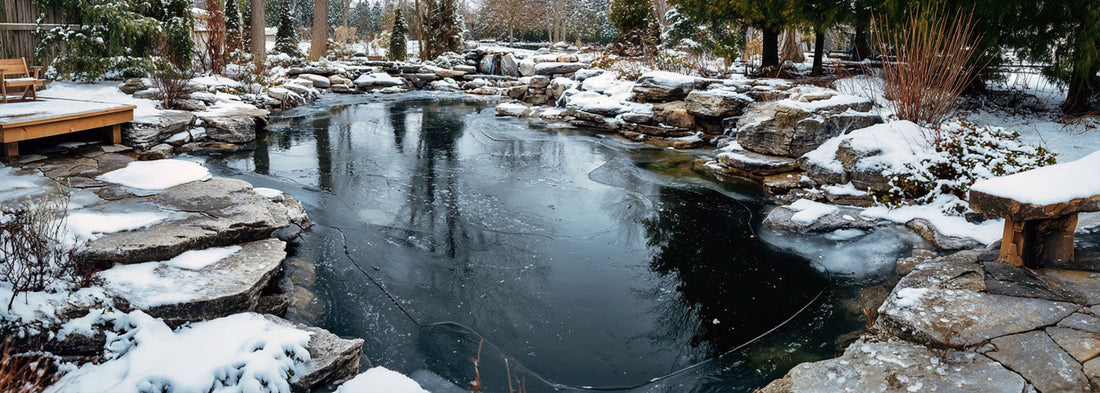
How to Winterize a Pond: Step-by-Step Guide
Canadian winters can be tough on backyard ponds. Ice, snow, and freezing temperatures affect not only the water quality but also the health of your fish and the lifespan of your equipment. Proper winterizing protects your investment, keeps your pond's ecosystem balanced, and helps you start the spring season without costly repairs.


Here is a complete step-by-step guide to preparing your pond for winter, including fish care, equipment storage, temperature guidelines, troubleshooting advice, and helpful product links for Canadian climates.
Step 1. Clean and prepare your pond
Before winter sets in, remove any leaves, twigs, or debris from the surface and bottom of your pond. Use a long-handled pond net or pond vacuum to make the process easier. If organic matter is left to decay, it can release harmful gases under the ice and cause water quality problems in spring.
Step 2. Trim dead or dying foliage
Cut back any dead or dying plant material in and around the pond. Trim hardy marginal plants to just above the waterline. Remove tropical plants completely and compost them or overwinter them indoors. This helps minimize organic waste buildup during the frozen months.
Step 3. Prepare waterlilies and aquatic plants
Trim hardy waterlilies to about two inches above the crown and move them to the deepest part of the pond where they will stay below the ice. Remove tropical lilies and floating plants before frost arrives, or try keeping them indoors under grow lights if desired.
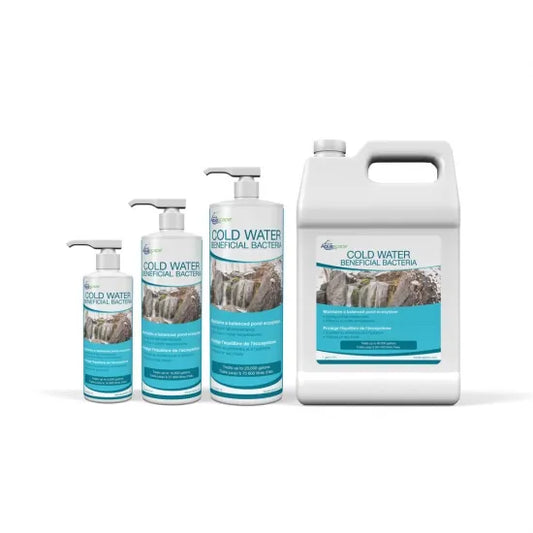
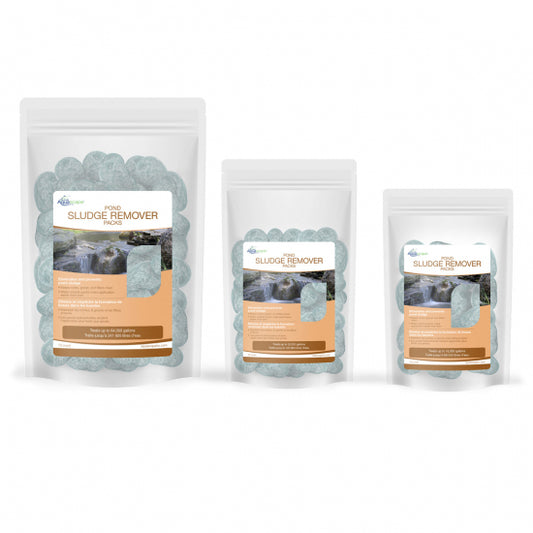
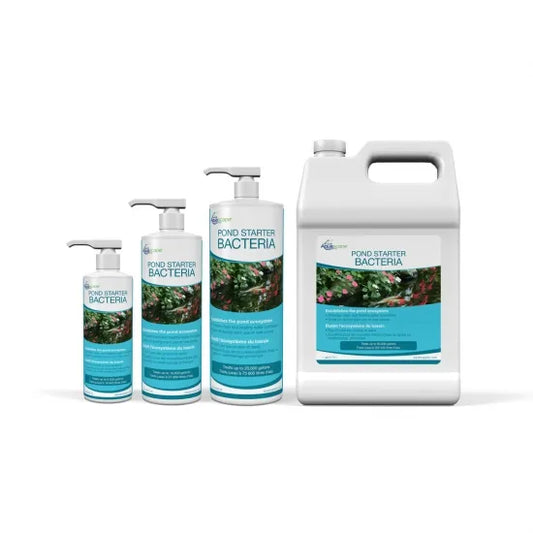
Step 4. Add cold water beneficial bacteria
Use cold water beneficial bacteria formulated for low temperatures to help maintain water clarity and digest organic waste. These bacteria continue working down to 32°F (0°C), reducing sludge buildup and helping you avoid heavy cleaning in spring. You can use:
- Aquascape Cold Water Beneficial Bacteria
- Aquascape Cold Water Beneficial Bacteria Professional Grade
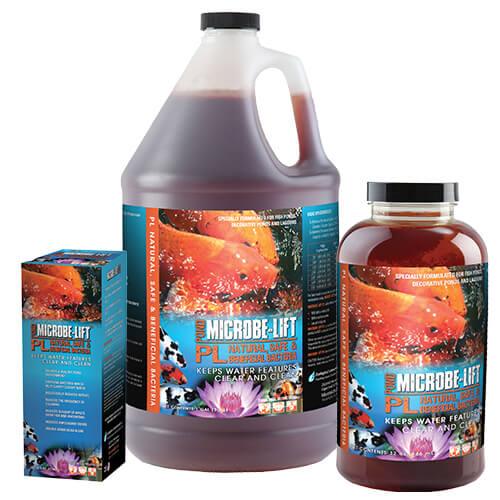
- ClearLake™ Cold Water Clarifier
- Microbe-Lift Autumn & Winter Prep
- CrystalClear Spring & Fall Prep
Step 5. Clean the skimmer and filtration system
Empty and rinse the skimmer basket frequently until all leaves have fallen. Remove and rinse filter media with pond water to avoid killing beneficial bacteria. If you plan to shut down your system, clean and store filter components indoors once the pond is fully prepared.
Step 6. Remove and store your pump
Take the pump out of the pond before freezing weather. Clean it thoroughly, treat it with a pump maintenance solution, and store it in a bucket of water in a frost-free area such as a garage or basement. Keeping the seals wet prevents cracking and extends the pump's lifespan.
Step 7. Drain plumbing and store accessories
If your pond uses plumbing or external filters, drain all lines completely to prevent water from freezing and expanding. Disconnect any UV clarifiers, external filters, or fountains and store them indoors in a dry, frost-free place.
Step 8. Adjust your aerator placement
If you plan to run an aerator through winter, move the diffusers to a shallow area of the pond. This prevents cold surface air from mixing with the warmer water at the bottom where fish hibernate. Shallow placement keeps oxygen flowing without disturbing the deep thermal layer.
Step 9. Install a de-icer
A pond de-icer keeps a small opening in the ice, allowing gases to escape and oxygen to enter. Even a small ice-free hole can make a big difference for fish survival. For extremely cold climates, consider using a floating 300-watt model for reliable performance.
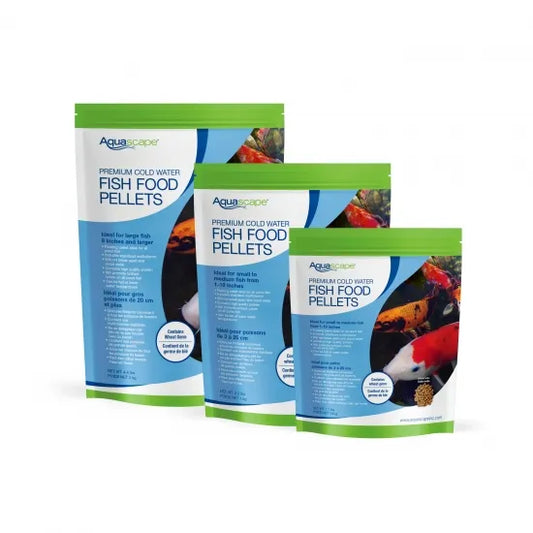
Step 10. Feed fish properly before hibernation
As the water temperature drops below 60°F (15°C), switch to a high-quality cold-water fish food. Stop feeding completely when temperatures fall below 50°F (10°C), since fish metabolism slows and they can no longer digest food efficiently.
- Aquascape Cold Water Fish Food Pellets
- Microbe-Lift Cold Weather Food
- Microbe-Lift Immuno Food
- CrystalClear Wheatgerm Koi Food
- Hikari Sinking Wheat-Germ Formula
Step 11. Oxygenate the pond and maintain airflow
Keep one area of the pond open during winter using an aerator, bubbler, or de-icer. This hole allows harmful gases to vent and fresh oxygen to enter, ensuring fish can breathe safely under the ice. Consider combining an aerator with a de-icer for redundancy during extreme cold snaps.
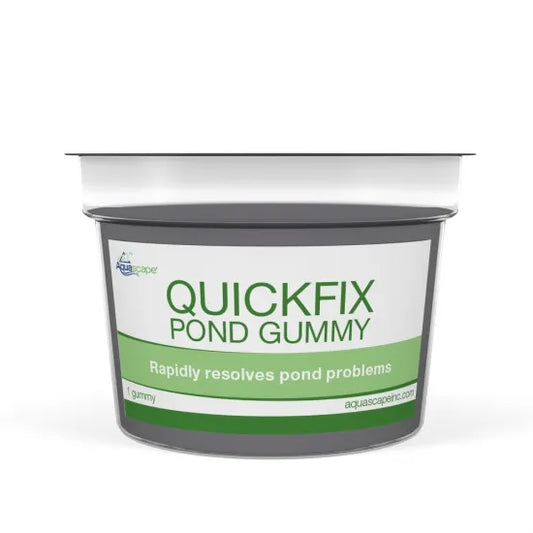
Step 12. Troubleshooting winter issues
- If your pond freezes completely, pour warm (not boiling) water on one area to reopen the gas exchange hole safely.
- If the de-icer stops working, temporarily use a small pump to circulate water near the surface.
- If fish appear sluggish or stay near the surface, test ammonia and oxygen levels. Cold stress can make fish more vulnerable.
- If water level drops suddenly, check for ice dams or blocked outflows that redirect water over the pond edge.
Step 13. Final check before freeze-up
- Remove any leftover debris from the pond surface.
- Verify that your aerator, bubbler, or de-icer are functioning properly.
- Make sure cords and connections are protected from snow and ice.
- Double-check that pumps and filters are safely stored indoors.
Step 14. Cover the pond with netting
Once everything is clean and equipment is in place, cover the pond with a fine-mesh net. The pond net keeps late-falling leaves and snow from entering the water and also discourages animals from approaching the pond.
Transitioning into spring
As ice begins to melt, restart your filtration system gradually. Reintroduce beneficial bacteria to jump-start the ecosystem, and inspect your pump and liner for any signs of damage before full operation. Learn how to restart your pond the right way by following our detailed guide: Spring Pond Start-Up: What to Do After Winter.
Wrapping up
Winterizing your pond takes only a few careful steps but saves you time and trouble in spring. By cleaning, trimming, protecting equipment, maintaining oxygen flow, and covering the pond properly, you ensure your fish, plants, and system remain healthy all winter long. When spring returns, your pond will be ready to start the season clear, balanced, and full of life.
Tags: